User Experience
This guide will walk you through customizing your User Experience in OpenEMR. A few minutes of personalization can make your daily tasks much more efficient.
Prerequisites
Before you begin, ensure that you have:
- Admin Access credentials for your installation
Walkthrough Video
Customizing Your User Experience
Step 1 - Accessing User Settings
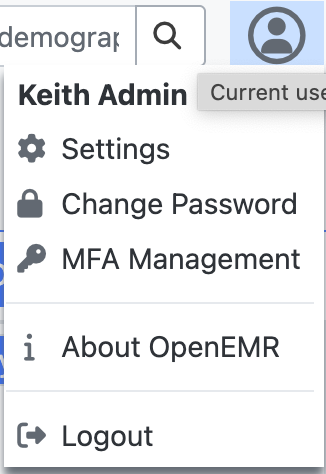
- Click on your user icon in the top right corner of the screen.

- From the dropdown menu, select Settings. This will open the user settings panel.
Step 2 - Personalize Your Experience
The most popular customizations are the color theme, date format, and default calendar view. We will quickly walk you through making each of these changes.
Example 1 - Changing Your Theme
Your theme covers the color scheme of OpenEMR. You can find one that makes it easier for you to view.
- In the Settings panel, click on the Appearance tab.
- Locate the Theme in the drop down menu.
- Select a new theme from the list, suck as "Forest Green" or "Dark."
- Click Save to apply the new theme. The interface will update to show the new look.
- To return to the original look, select the default "Light" theme and save again.
Example 2 - Changing the Date and Time Format
By default, OpenEMR uses a YYYY-MM-DD date format and a 24Hr time format, but both of these are customizable.
- Click on the Locale tab on the left.
- Find the Date Display Format setting and select your preferred format, such as MM/DD/YYYY.
- Find the Time Display Format setting and choose 12Hr.
- Click Save to apply your changes.
- Log Out and Log Back In* to see your changes reflected throughout the system.
Example 3 - Setting Your Default Calendar View
- Click on the Calendar tab.
- Find the Default View Setting.
- Choose your preferred view from the dropdown menu, such as Week or Month.
- Slick Save
- Log Out and Log Back In* to see your changes reflected throughout the system.