Custom Appointment Categories
This guide will help you make your scheduling process more efficient and visually organized by creating or updating visit types or categories. Each Category has a pre-set duration and color to help automate the booking process. It also makes your calendar view very easy to read.
Prerequisites
- Adiministrator Account
Step 1: Navigate to the Calendar
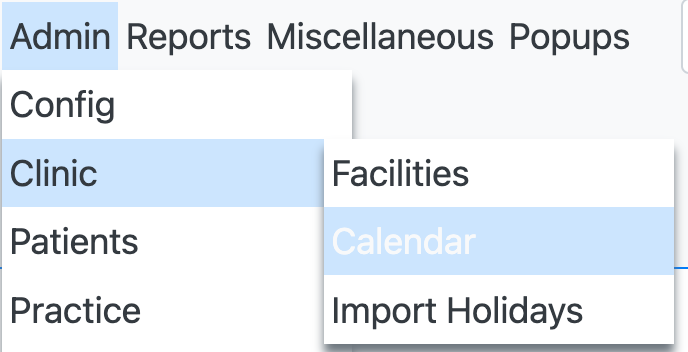
From the Main Menu go to Admin -> Clininc -> Calendar and click on the Categories link.
Step 2: Select a Category to Edit
Click on Categories and look at the list of categories that are set for your clinic. You can select New Category or scroll down to one of the already set categories.
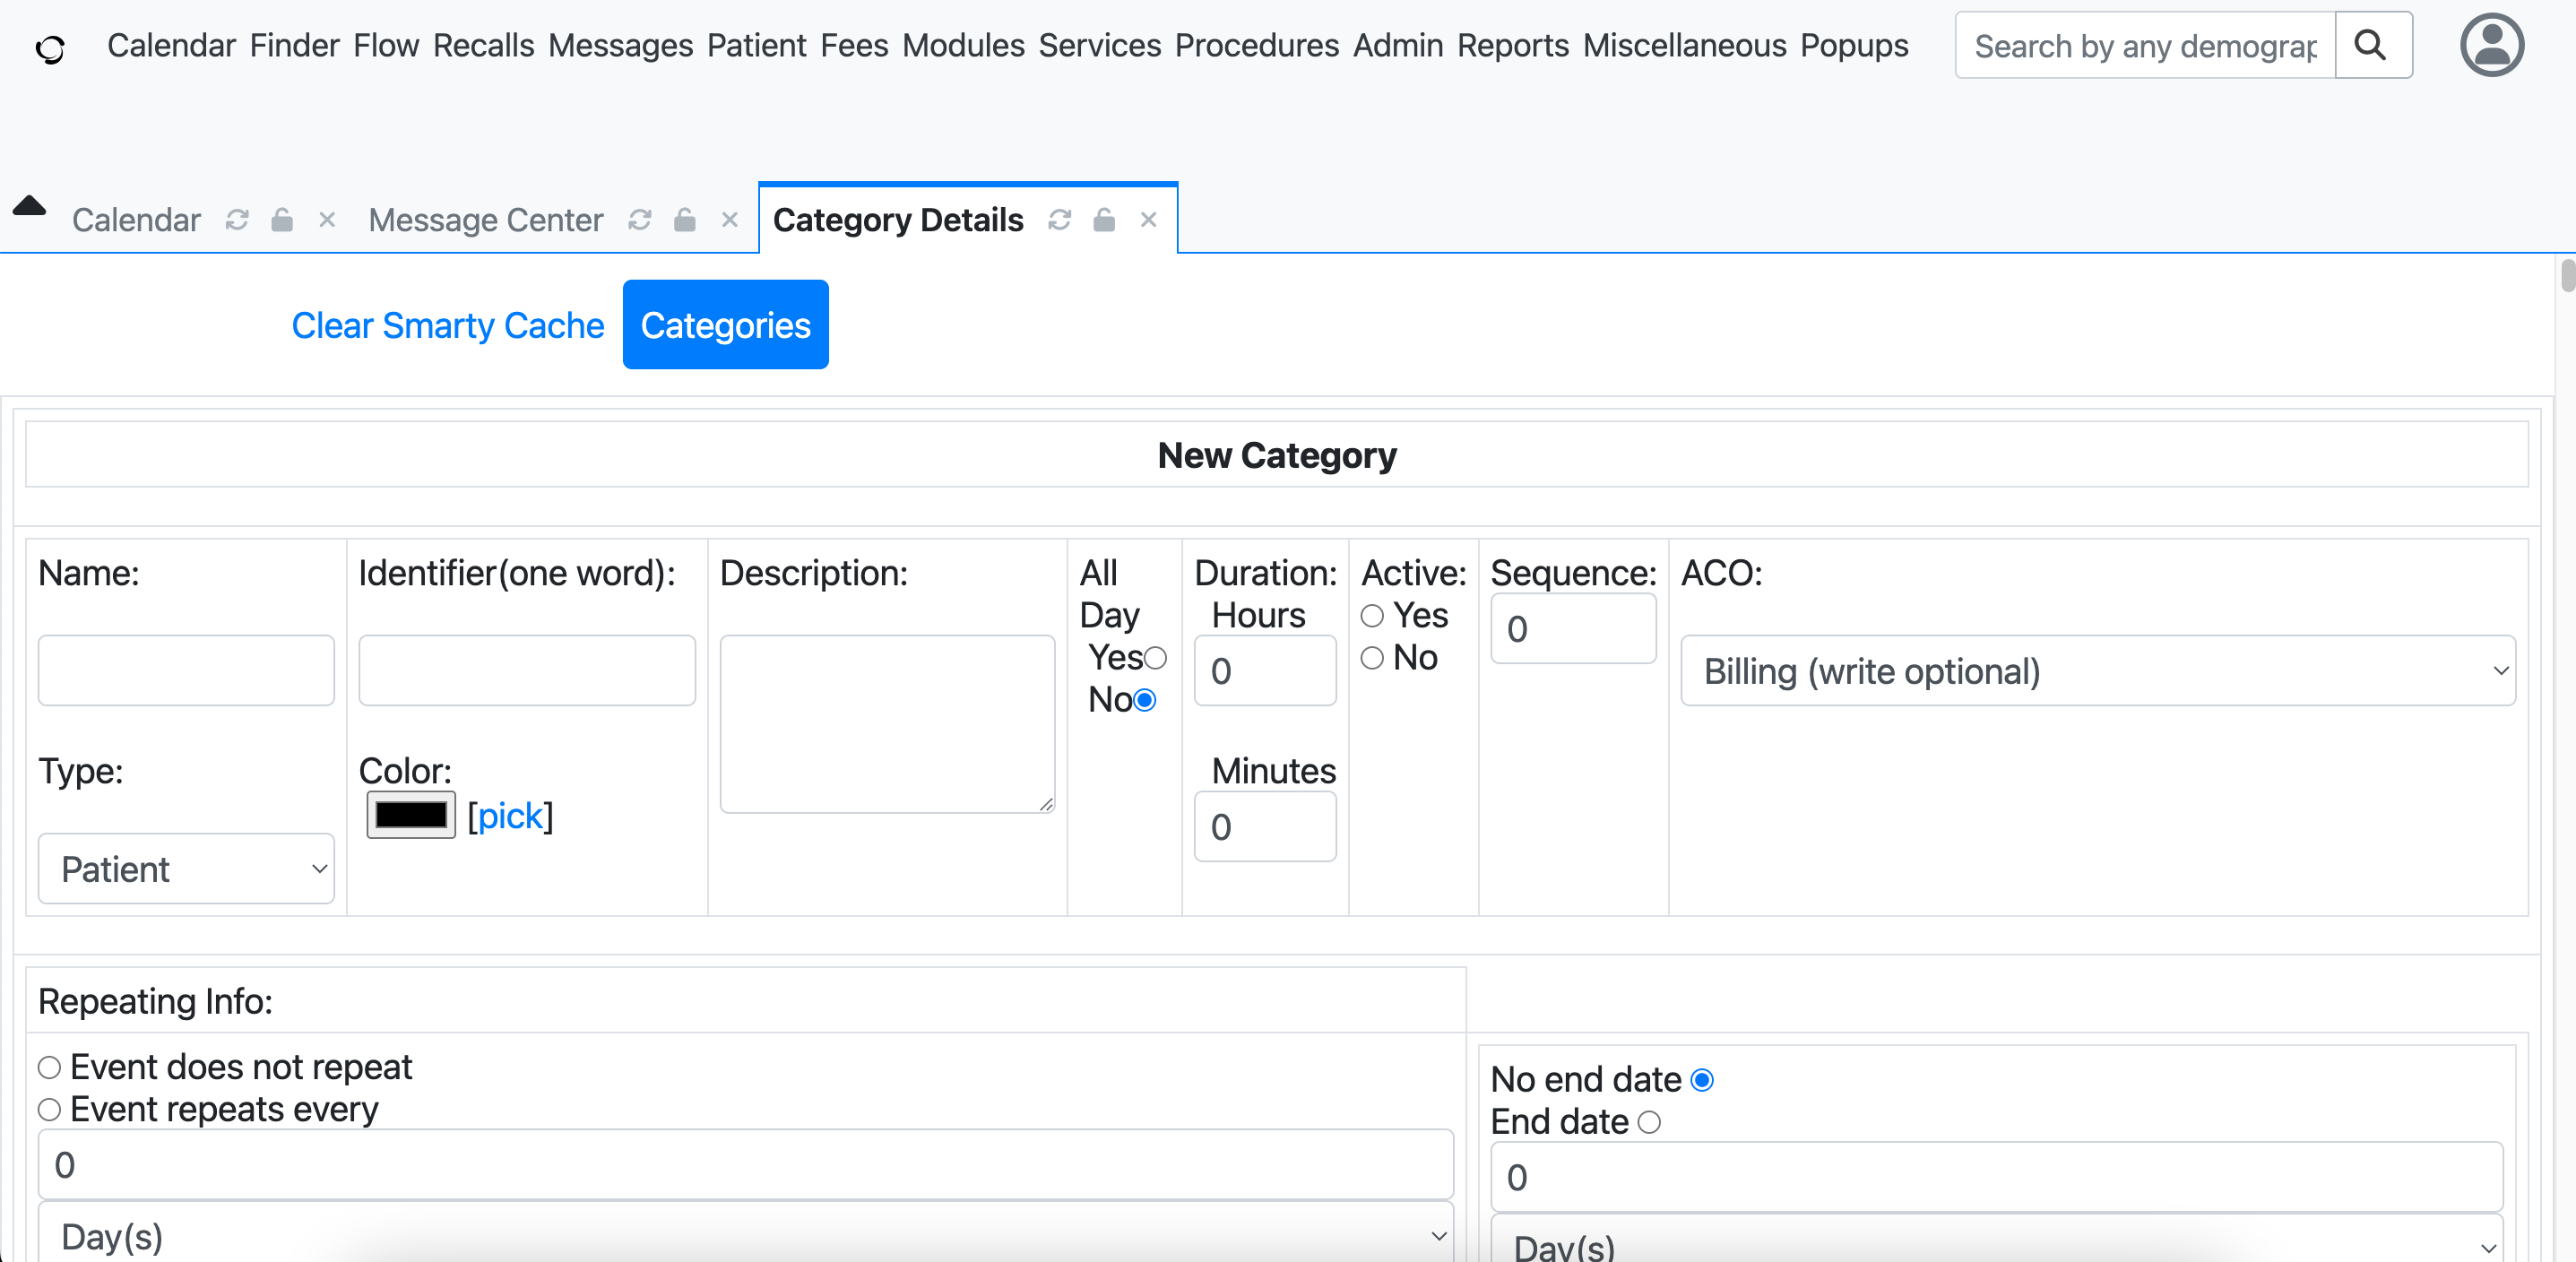
Categories have the following attributes:
- Name - The name for the category in the list
- Identifier - A one word identifier for the category
- Description - A text field to describe what the category is used for
- Type - Select from Patient, Provider, Clinic, or Therapy Group. Use Patient to create new schedulable patient visit types, e.g. telehealth.
- Color - Select a color that will appear on the calendar
- All Day - a Yes / No field for all day or regular events
- Duration Hours - How long the default appointment length is for this category.
- Sequence - Categories are sorted numerically by the sequence value, lower numbers appear first in lists, dropdowns, and category views
- ACO - Accountable Care Organization, how is this appointment billed
- Repeating Event - Is this a repeating event
- End Date - If repeating, does this have an end date
Step 3: Click Save
When everything is entered, click Save to confirm all of your changes to the system.