An Overview of the Patient Portal
The OpenEMR Patient Portal is a secure online platform that allows patients to actively participate in their healthcare management. It serves as a digital bridge between the patient and the clinic, providing convenient access to medical information and communication tools.
Prerequisites
- At least one patient created in the system
- Login information for that patient
Key Features for Patients
Once a patient is granted access, they can perform a variety of actions, including:
-
View Health Records: Access visit summaries, lab results, and other clinical documents.
-
Request Appointments: Schedule new appointments directly through the portal.
-
Secure Messaging: Communicate securely with providers and clinic staff.
-
Manage Personal Information: Update demographic and insurance details.
-
Online Bill Pay: View statements and pay medical bills online.
-
Fill Out Forms: Complete new patient forms or other necessary documents prior to a visit.
Administrator Setup
To begin using the portal, an administrator must first enable it for the practice and configure its settings.
- Navigate to Admin > Config in the main menu.
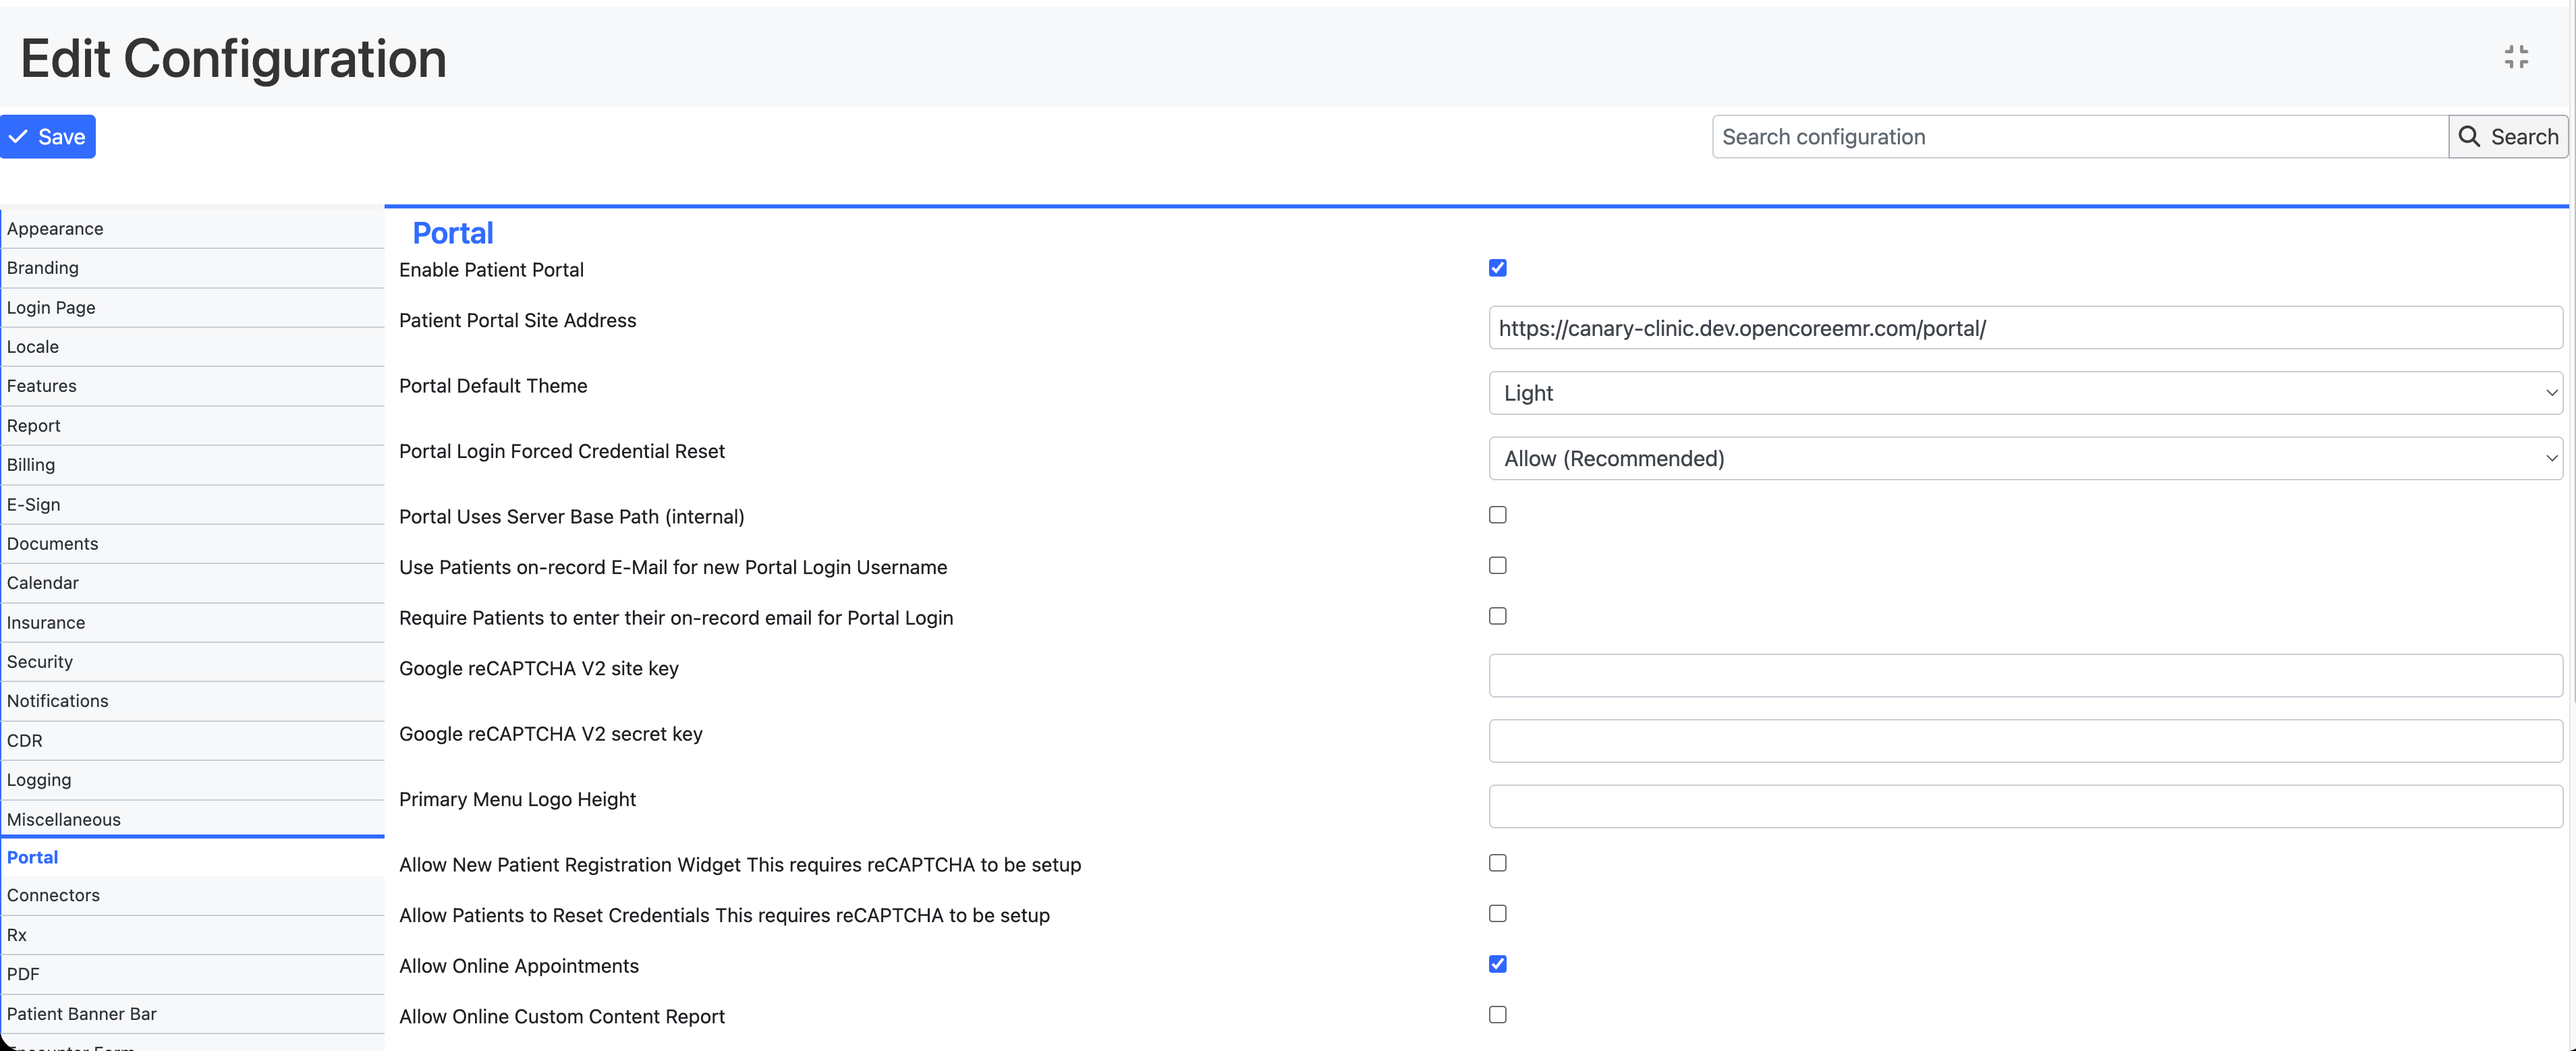
- Select the Portal tab.
- Check the box for "Enable Patient Portal".
- For Patient Portal Site Address, enter the URL for your deployment. Your patient portal url is your base url with
/portal/at the end. For example, if your base url is https://myclinic.prd.opencoreemr.com, then the portal url is https://myclinic.prd.opencoreemr.com/portal/. - Recommendation: Check "Use Patients on-record E-Mail for new Portal Login Username". This setting will streamline the patient portal login process as it only requires patients to enter in their email instead of both a username and email.
- Save your changes.
How to Authorize a Patient for Portal Access
Once the portal is enabled globally, you must authorize each patient individually.
- Open the patient's dashboard.
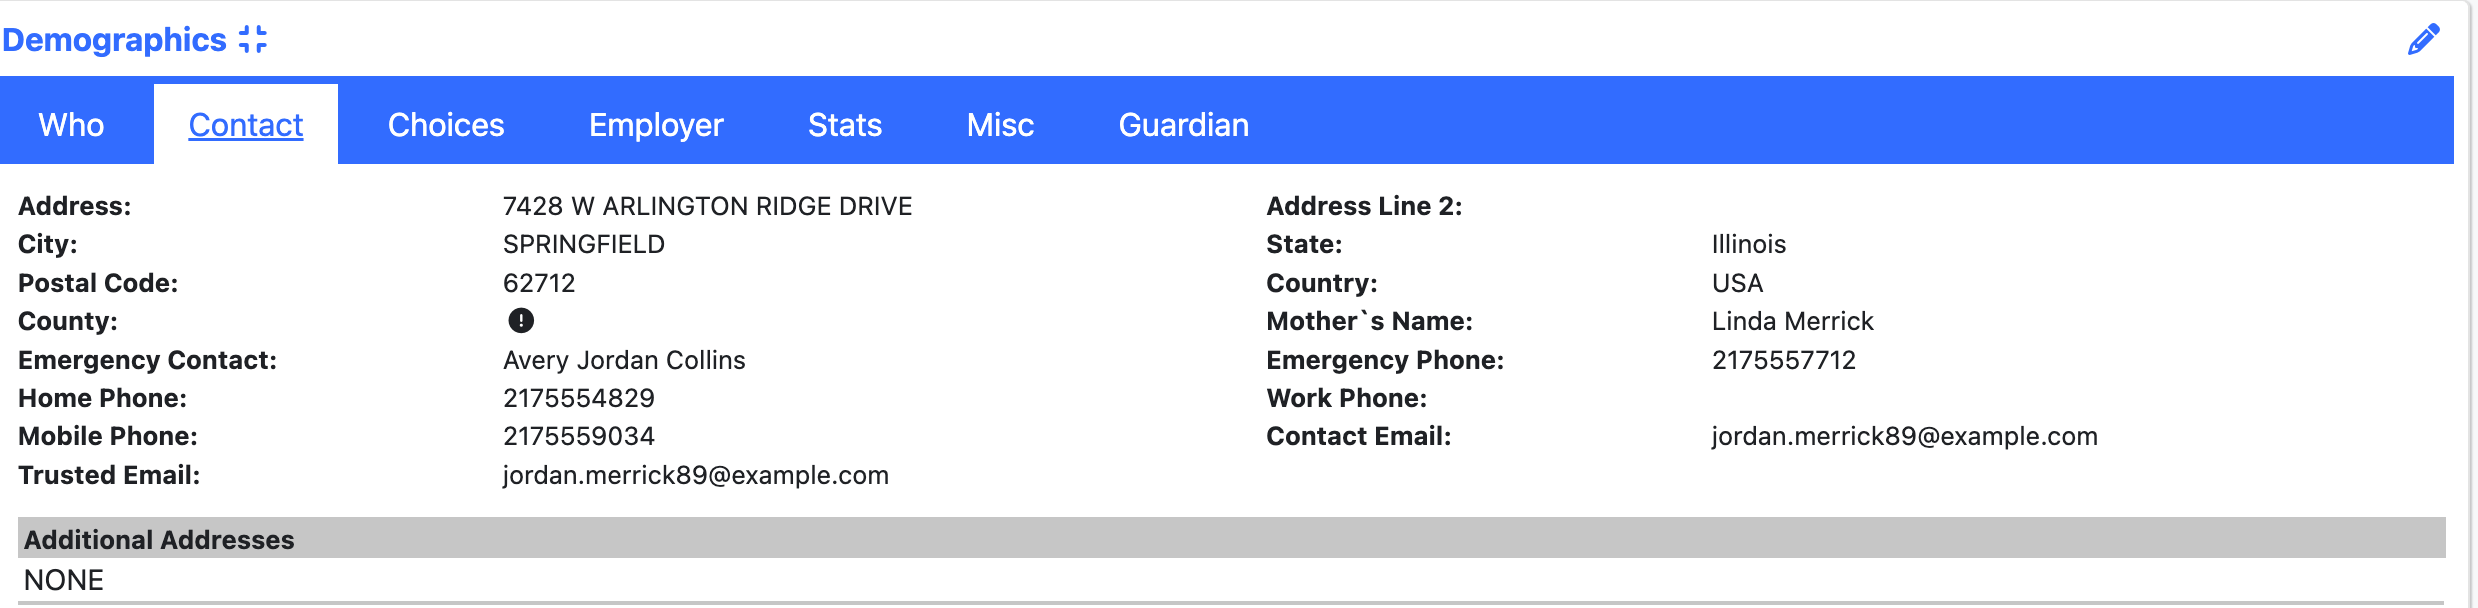
- Navigate to the Demographics section.
- On the Contact tab, ensure that both a Contact Email and a Trusted Email have been entered for the patient.
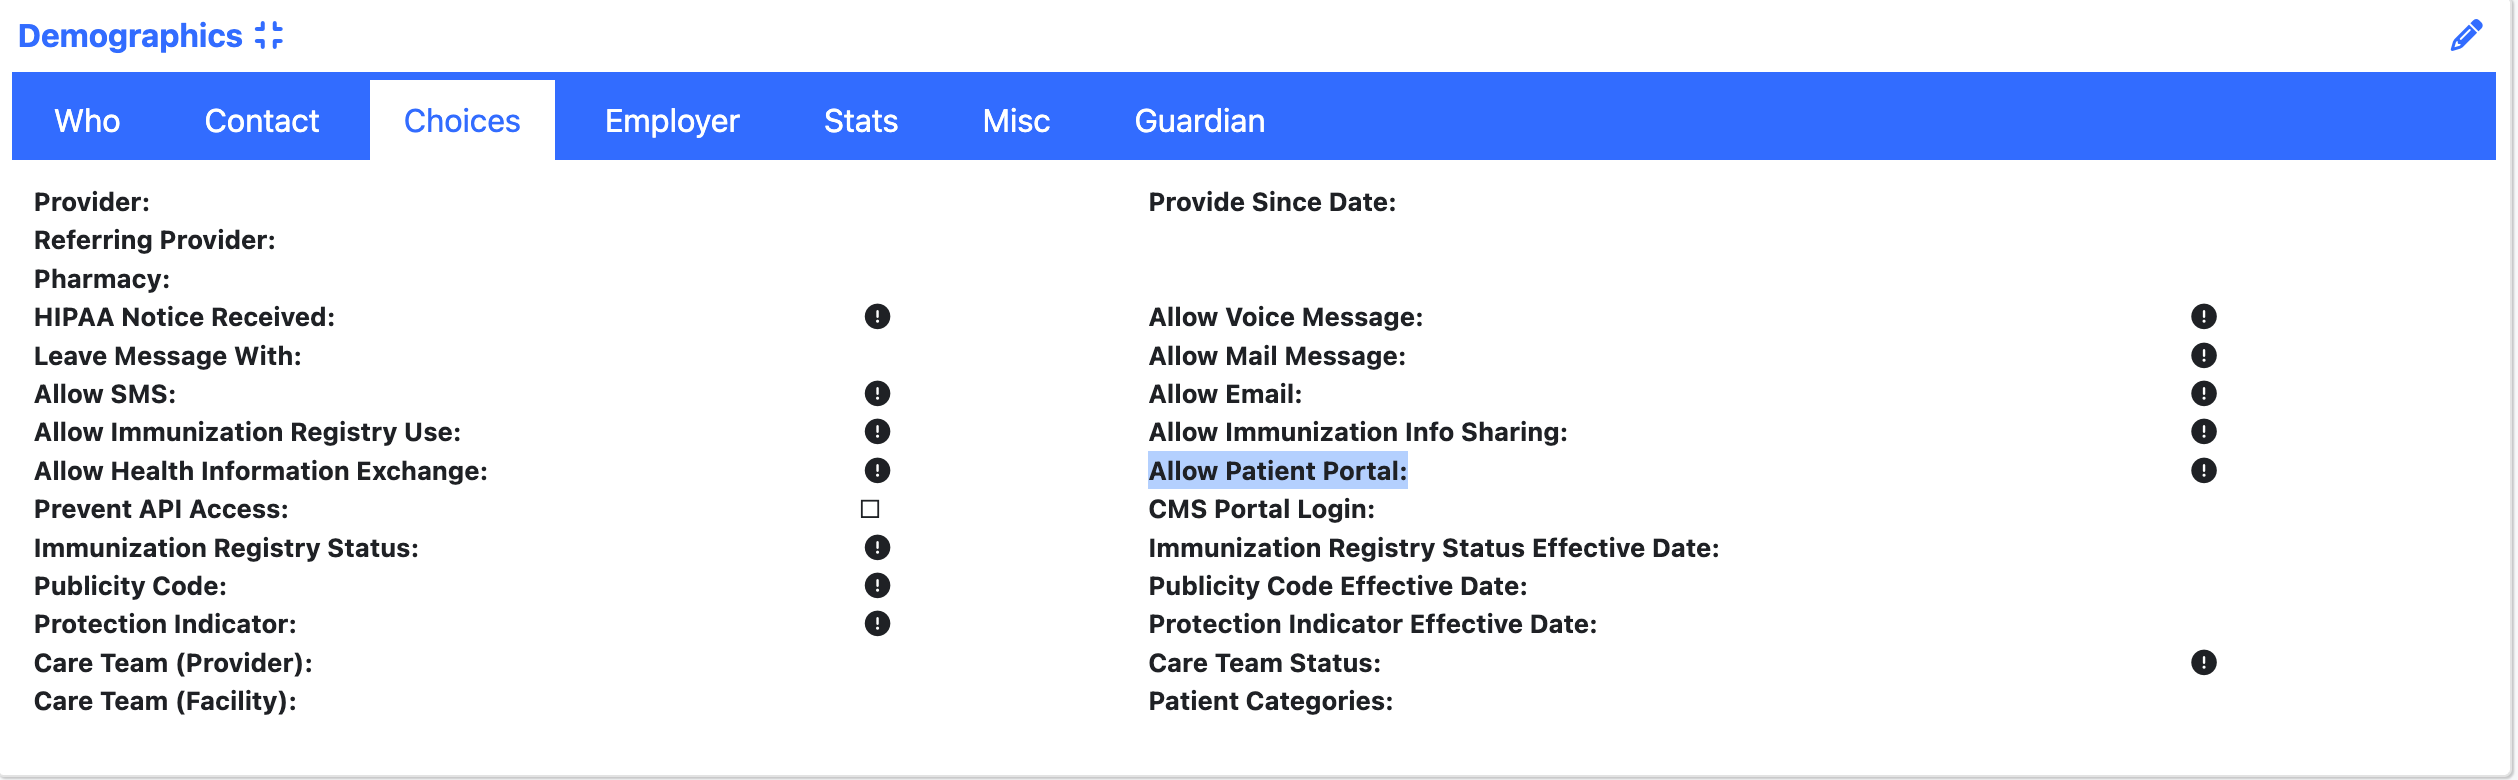
- Switch to the Choices tab and set "Allow Patient Portal" to YES.
- Return to the main patient dashboard.
- Under the Patient Portal / API Access section, click the Create+ link under Credentials.
- Save the new username and password. You can then copy/paste the login credentials to email to your patient, or save the generated PDF.